Adding a Status to the My Items Table
By default, the My Items table in the Self-Service portal is configured to show incident, service request, and approval records. Therefore, the values for the MyItem status business object contains statuses from incidents, service requests, and approvals.
When adding a custom status to the incident, service request or approvals business objects, you must also add it to the My Item (FRS_MyItem) business object field for it to appear. You can do this in one of two ways:
Method 1: Using the My Item Status Workspace in the Service Desk Console
1.Log in to the Service Desk console.
2.Open the My Item Status workspace. The list of items appears.
3.From the toolbar, click New My Item Status. The application displays a blank form.
4.Enter the new status in to the text box.
5.Click Save. The status appears on the list.
Method 2: Using the My Item Business Object in the Configuration Console
1.From the Configuration console, click Build > Business Objects to open the Business Objects workspace.
2.Open the My Item business object. The object details page appears.
3.From the Object Fields tab, choose Status. The Status Details page appears.
4.In the Pick List area, click values. The list of statuses appears. Notice that default statuses from incident, service request, and approval are also included.
Adding a Custom Status Value
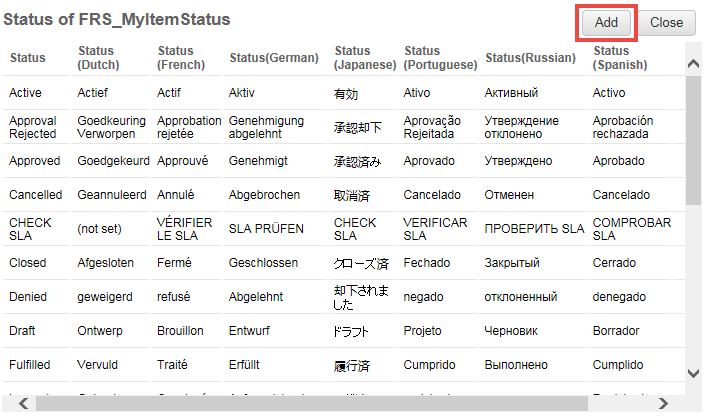
5.Click Add. The New Status window appears.
6.In the Status field, click Add, then add the new status such as waiting. To enter a localized value for the new status in any of the available locales, enter the value in the appropriate column.
7.Click Save to close the window, then click Close.
8.Click Save.